


What is pfSense
pfSense® is a free, open source software based on FreeBSD to be used as a firewall and router. pfSense comes with an intuitive and powerful web interface which makes it easy to configure and further manage the Firewall, VPN and Routing options without requiring any UNIX administration knowledge.
The current stable release is pfSense 2.5.
What pfSense Can Do
pfSense is a great, open-source software to use when looking for a robust, yet cost-effective solution to use for the following use cases:
- VPN to setup secure remote access for accessing critical servers within your datacenter, or allowing employees to securely work from home. pfSense supports IPsec and OpenVPN.
- LAN/WAN Router
- Firewall
- NAT
- DHCP
- DNS Server
How to Install pfSense on a Virtual or Dedicated Server
Before proceeding to the step-by-step guide on how to install pfSense on your Server, let’s take a look at the minimum hardware requirements your virtual or dedicated server should meet. These requirements can also be found on Netgate’s official website.
pfSense Minimum Hardware Requirements
The following minimum hardware requirements are recommended for the latest pfSense 2.5.1-RELEASE.
- 64-bit amd64 (x86-64) compatible CPU
- 1 GB RAM
- 10 GB Disk (SSD or HDD)
With NetShop ISP’s Flexi VPS+ service, you can quickly deploy a virtual server with the bare-minimum specifications and upgrade at any time.
Step 1: Download & Install pfSense on Dedicated Server
Navigate to the official pfSense website and download the version of your choice. We recommend that you always use the latest stable release version.
Login to your Dedicated Server’s iDRAC and use the Virtual Console to upload/attach the .iso file of pfSense. NetShop ISP is using DELL PowerEdge Servers with iDRAC Enterprise License which you can have permanently active for €20 per month. Contact sales@netshop-isp.com.cy to activate your Server’s iDRAC management port if you can’t proceed at this point.
As soon as you boot your server from the installation media, you will be prompted with a pfSense’s software licensing screen. Accept the terms and then select “Install” from the menu. Choose your desired keyboard layout and then choose “Continue”.
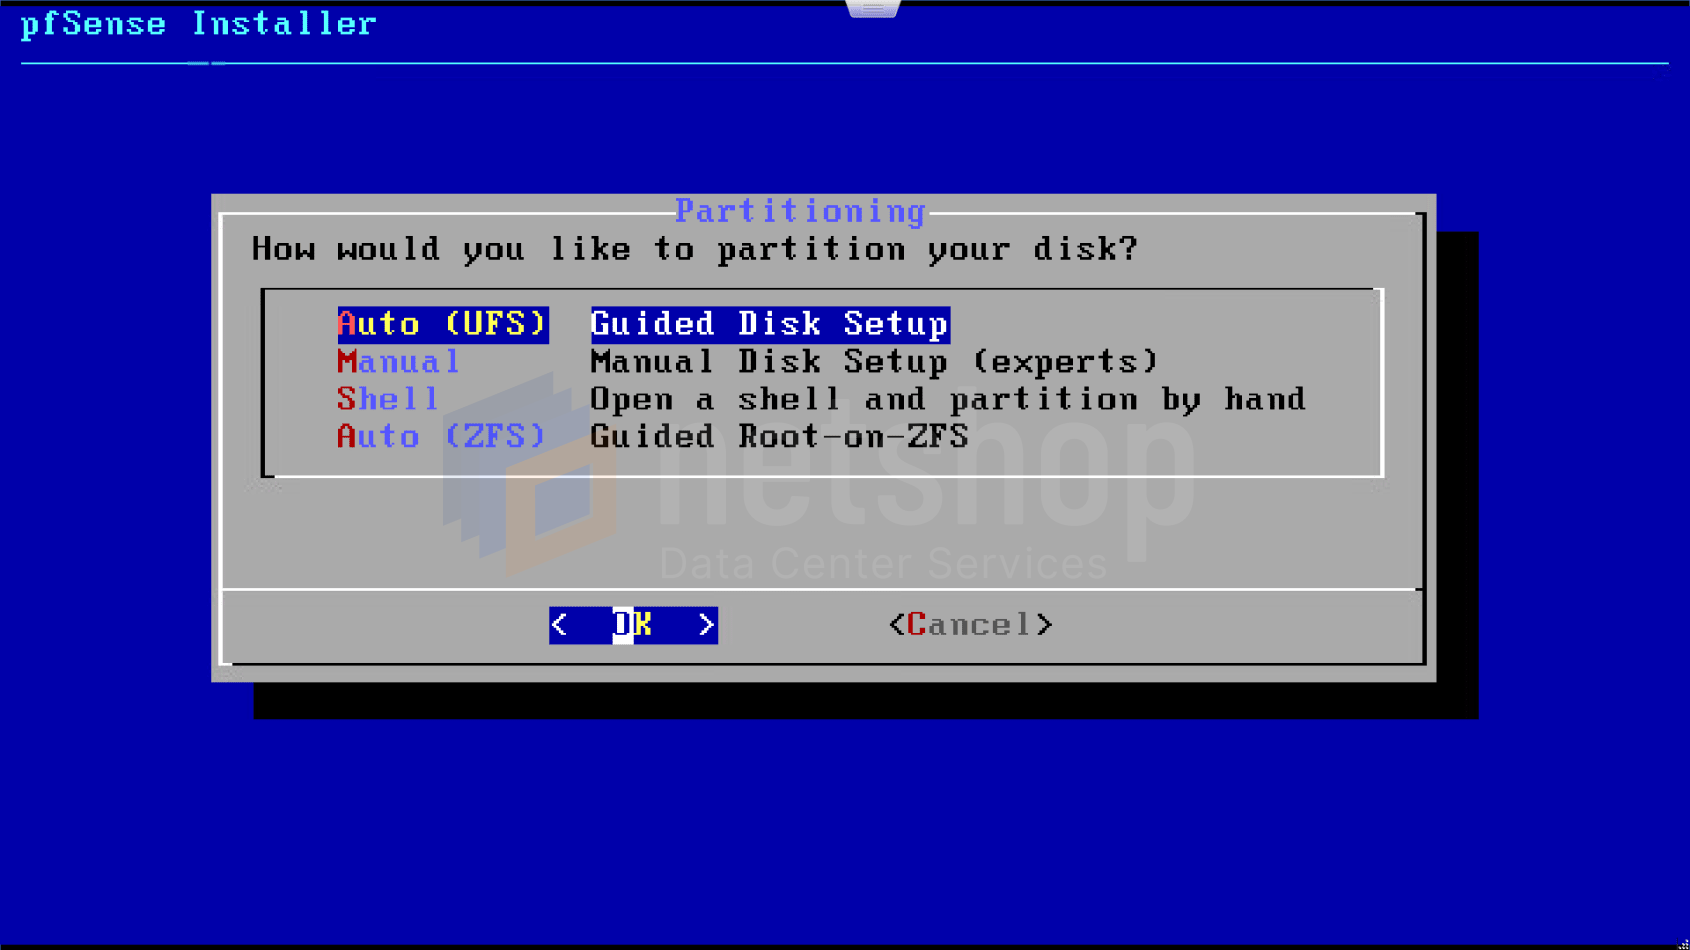
From the next menu screen, select the option that says “Auto – Guided Disk Setup” and click “OK” to continue.
Upon completion of the partitioning step, you will be prompted with a question to open a shell to edit the system. Press “No”. Finally, remove the installation media from iDRAC’s Virtual Console Media and hit “Enter” on the next screen to reboot your server into the pfSense system.
Step 2: Console Configuration
Upon reboot of your server, you need to setup basic networking of your pfSense system.
- Hit ‘n’ when prompted to setup VLANs
- Hit ‘a’ to auto-detect the WAN interface name
Then repeat the above process for the LAN interface.
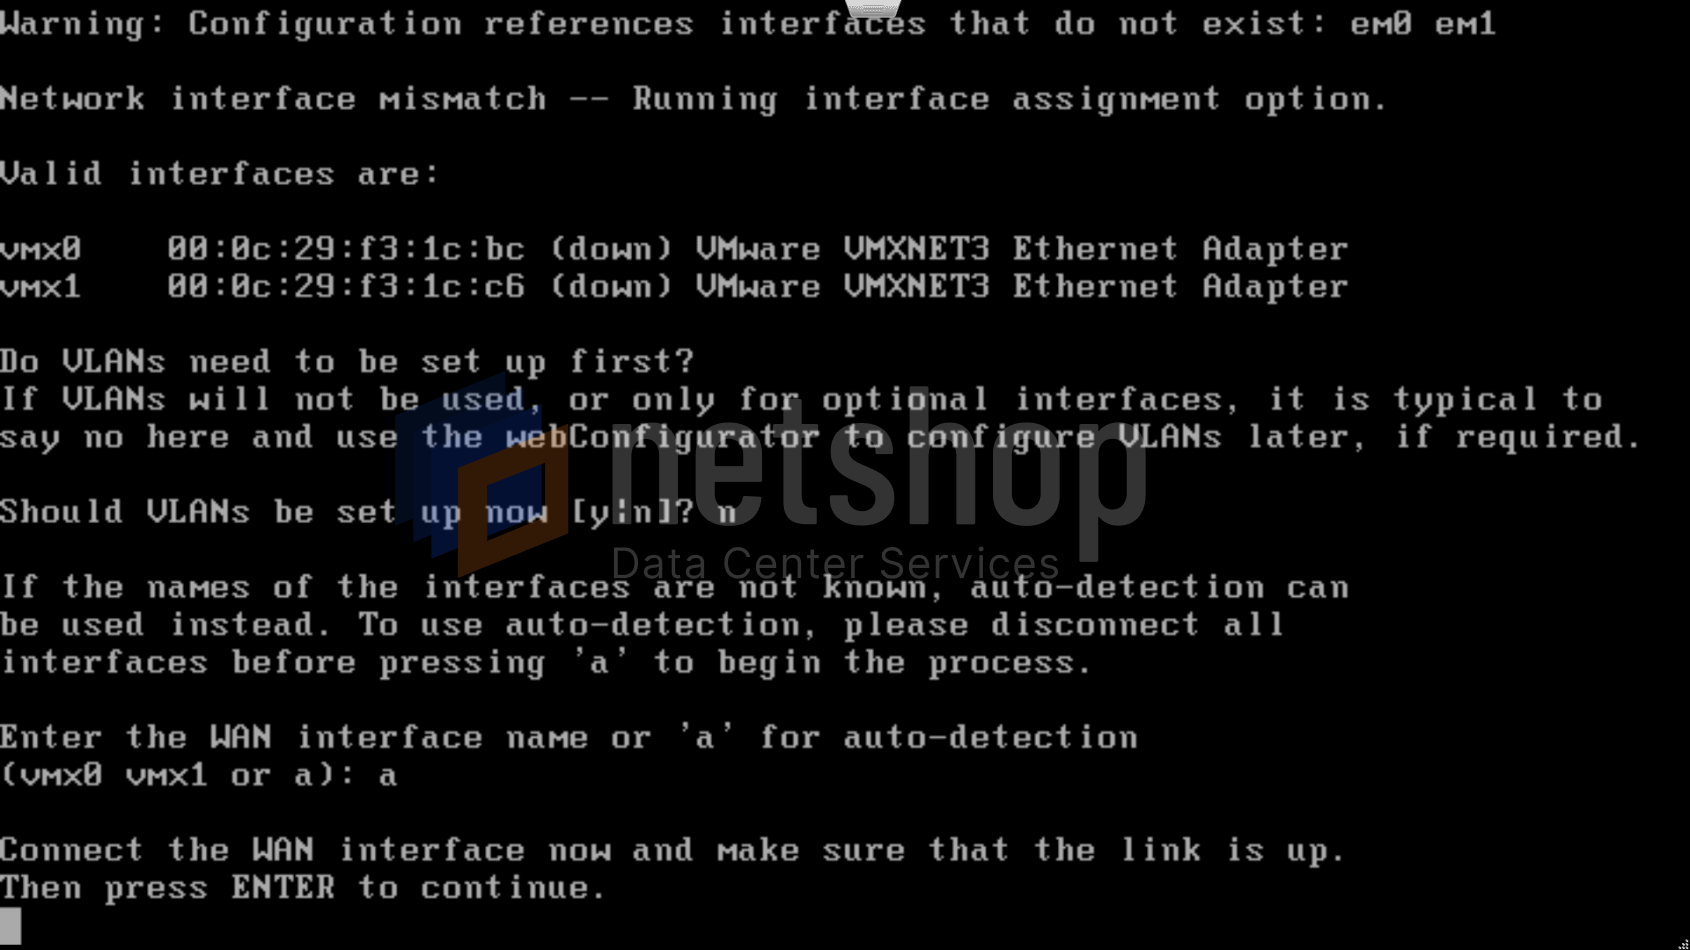
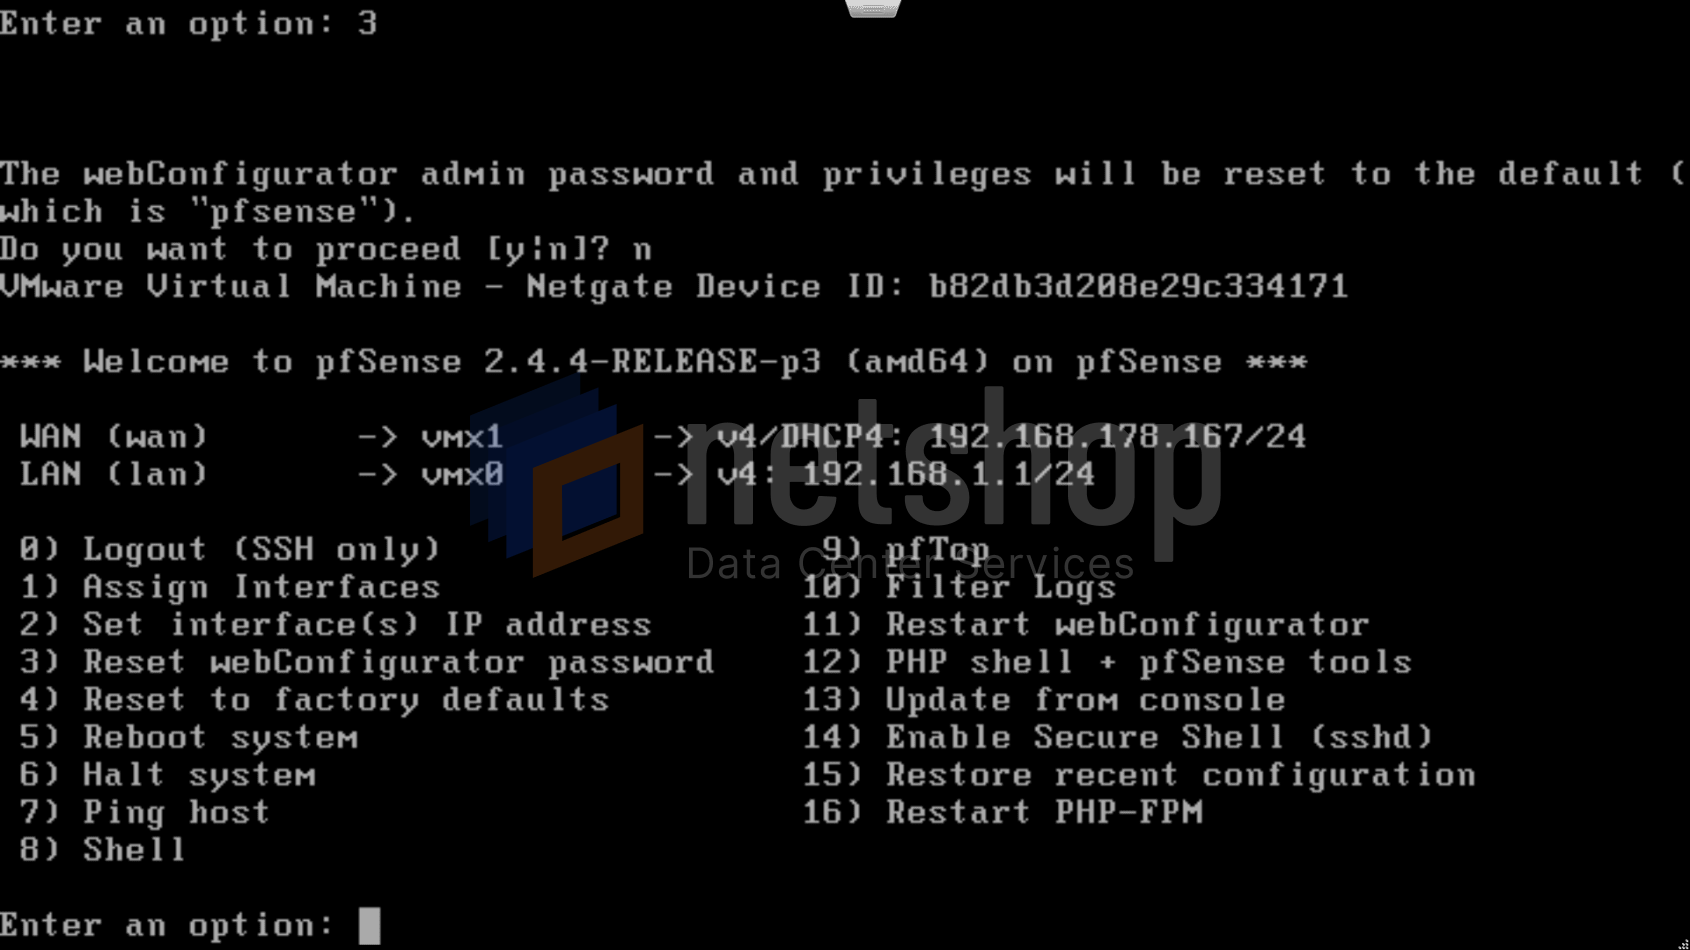
Once you are done with LAN and WAN interfaces configuration, hit ‘y’ to continue. pfSense will then continue booting and, finally, you will be presented with the status of your LAN and WAN interfaces, along with the console admin menu as shown below.
Step 3: Basic Setup using pfSense Web Interface
Using your web browser, navigate to the WAN or LAN IPv4 address that was displayed to you in the previous screen. Login using the default pfSense credentials (username: admin, password: pfsense) and follow the wizard screen to begin the setup of your new pfSense Firewall.
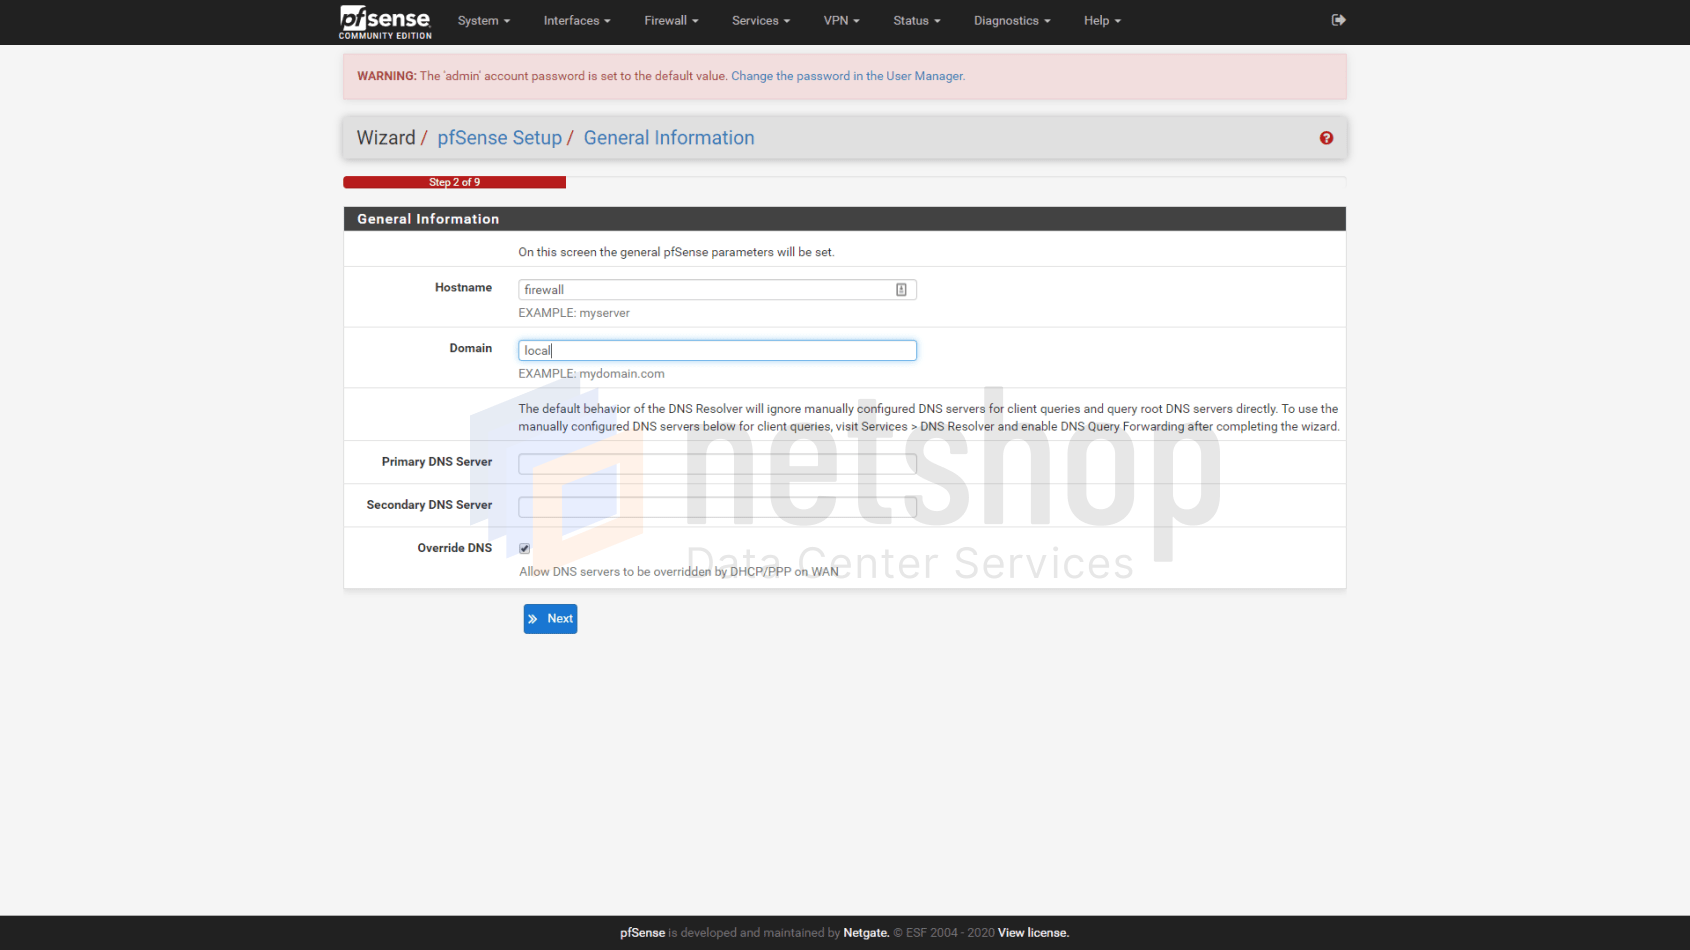
Type a name of your choice to represent your new pfSense’s Hostname and Domain. In our example we are using ‘firewall’ and ‘local’ respectively. Click ‘Next’ to proceed to the following step of the Wizard.
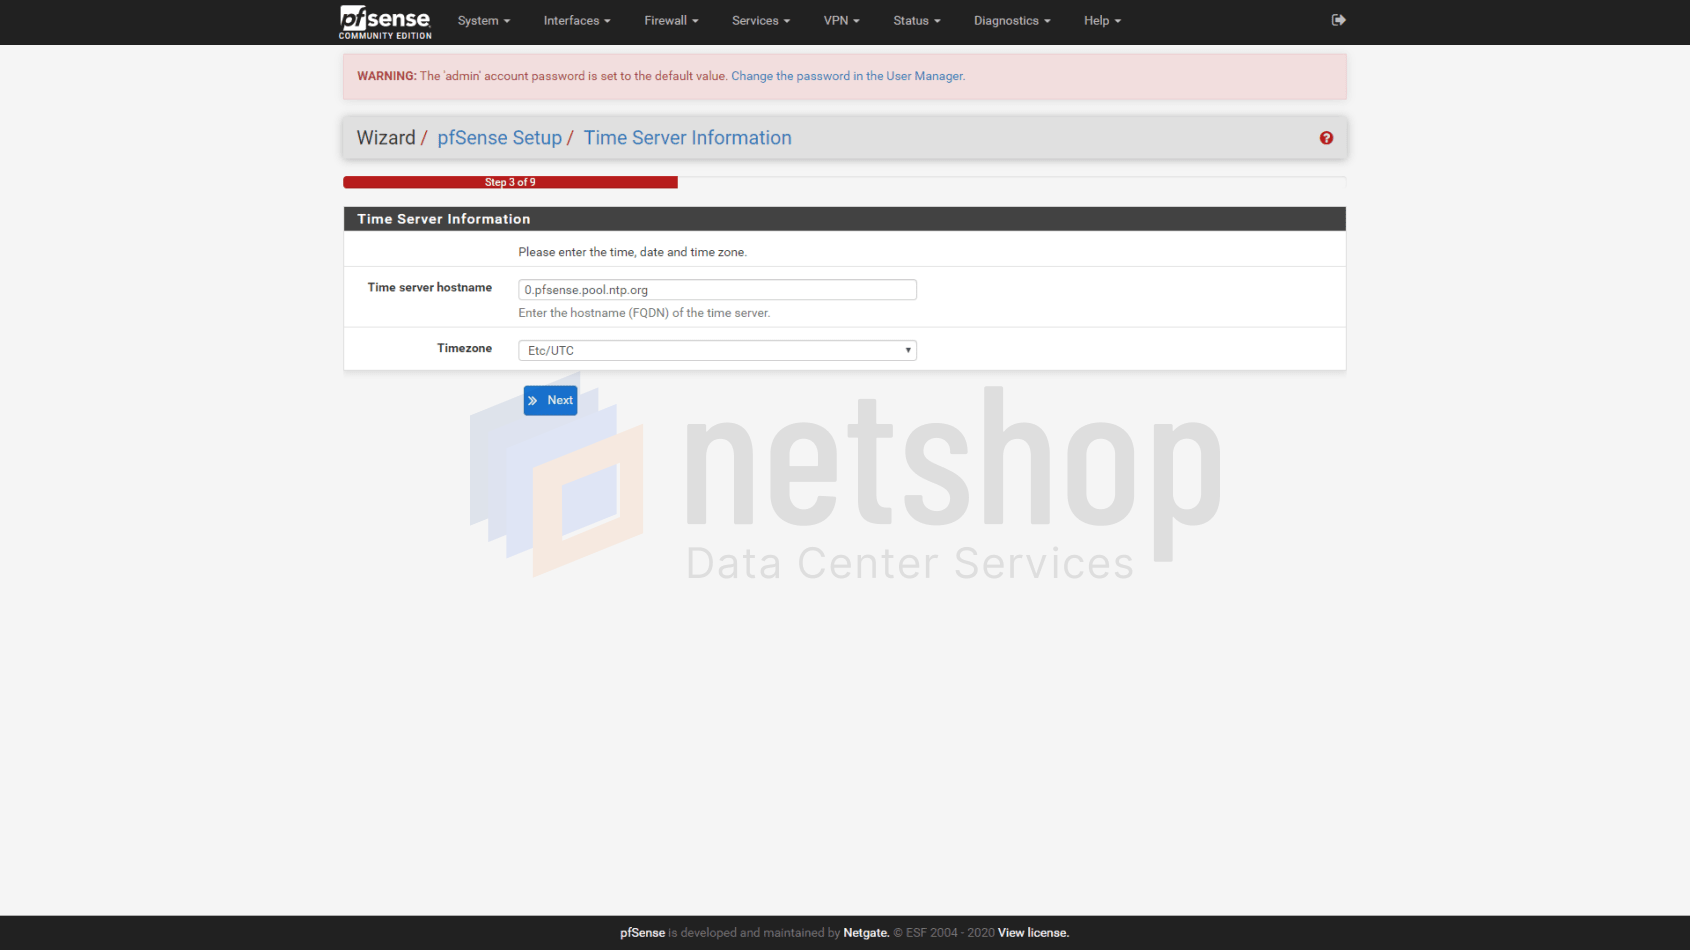
At this step you can keep the default time server, or set to a different one of your choice. Set your Timezone and click ‘Next’ to move on to the next step.
The following step requires you to setup the WAN interface. If your dedicated server is allocated with a subnet (e.g. /28, /27 etc) then you can choose to keep the default DHCP settings. Once you have completed the WAN configuration, click ‘Next’ to review LAN interface that was configured in a previous step.
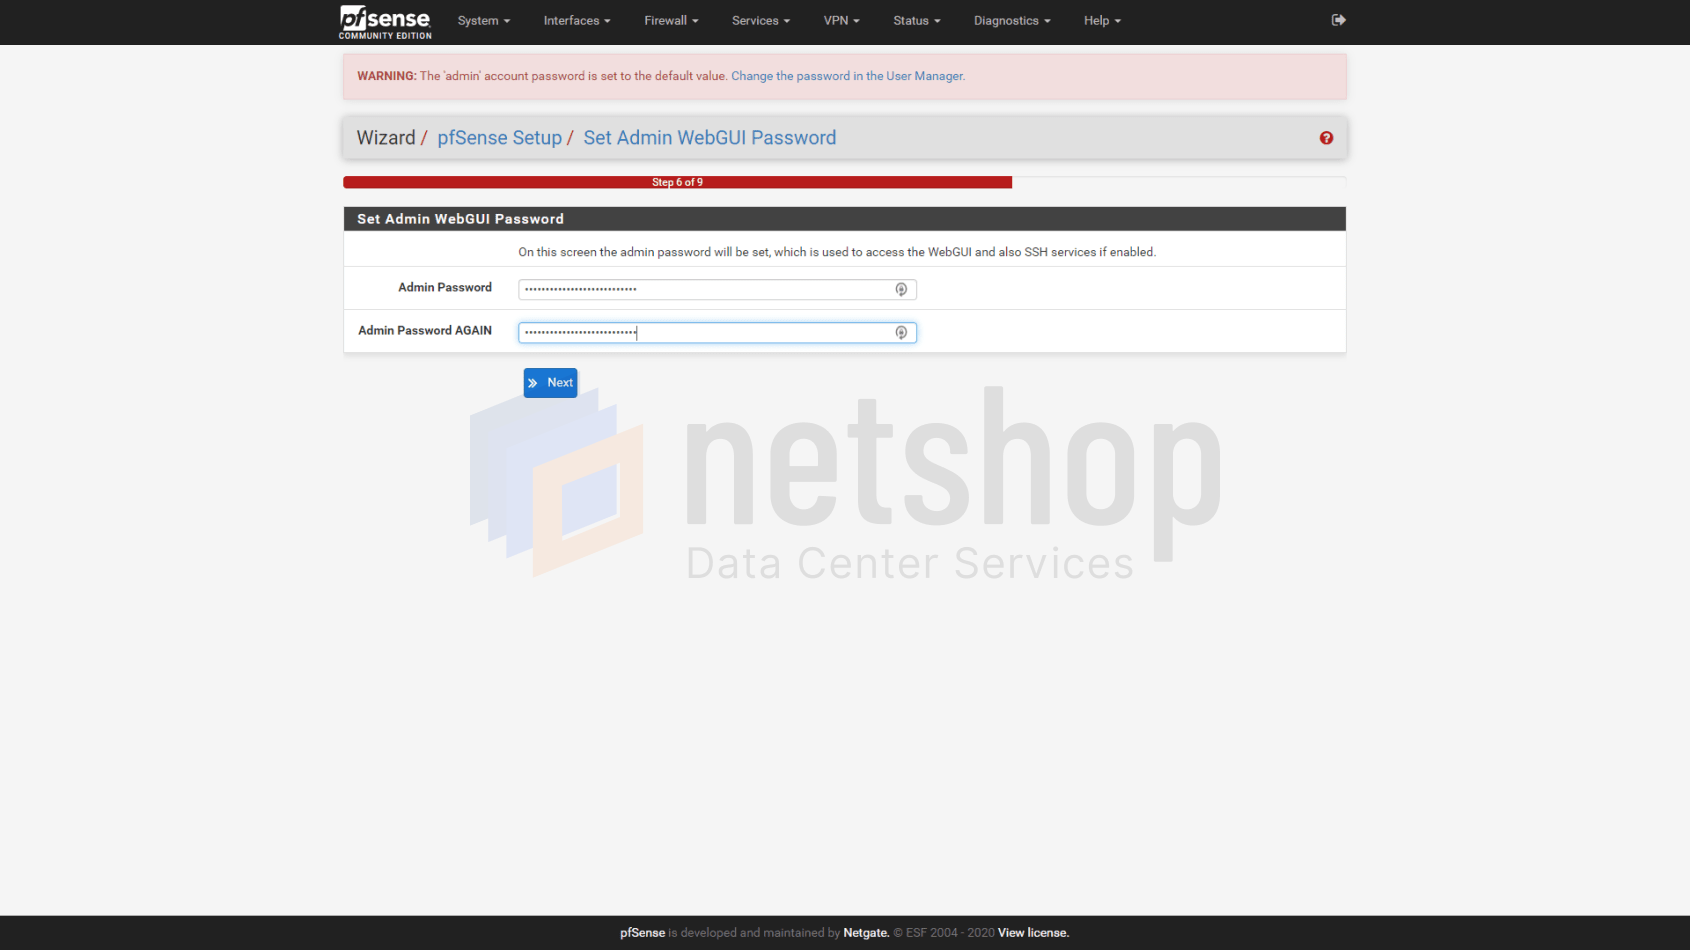
If you are happy with both WAN and LAN settings, click ‘Next’ to proceed to the next step where you will be asked to change the default pfSense admin password.
You are now ready to start using your new pfSense Firewall! Remember, this tutorial will help you setup the vary basics to get started. There are tons of features and settings you can use, which we will explore in future articles in our Blog.
Install pfSense on a VPS
pfSense can work seamlessly on both Virtual and Dedicated Servers. If you don’t want to bother with manual installation of pfSense, you can quickly deploy pfSense with NetShop ISP by ordering a Software Firewall.
Our Software Firewall service comes with pfSense ready, 1 dedicated IPv4 address assigned and all the required WAN and LAN settings pre-configured, so you won’t have to do anything manually.