










XAMPP is a free and open-source cross-platform web server stack package that includes Cross-Platform, Apache, MySQL, PHP, and Perl. It is one of the most popular cross-platform web servers, predominately used by developers to create and test their programs on a web server.
In case you are wondering, XAMPP terms comes from the initials of its stack components:
X refers to cross-platform
A stands for Apache
M for MariaDB or MySQL
P stands for PHP
P for Perl
In this article we will provide a step-by-step guide to installing XAMPP on your Windows Server 2022.
Prerequisites
In order to follow this guide you will need:
- Server with Windows 2022 edition installed
- Administrator access or any other User with administrative privileges
Easy Steps to Install XAMPP on Windows Server
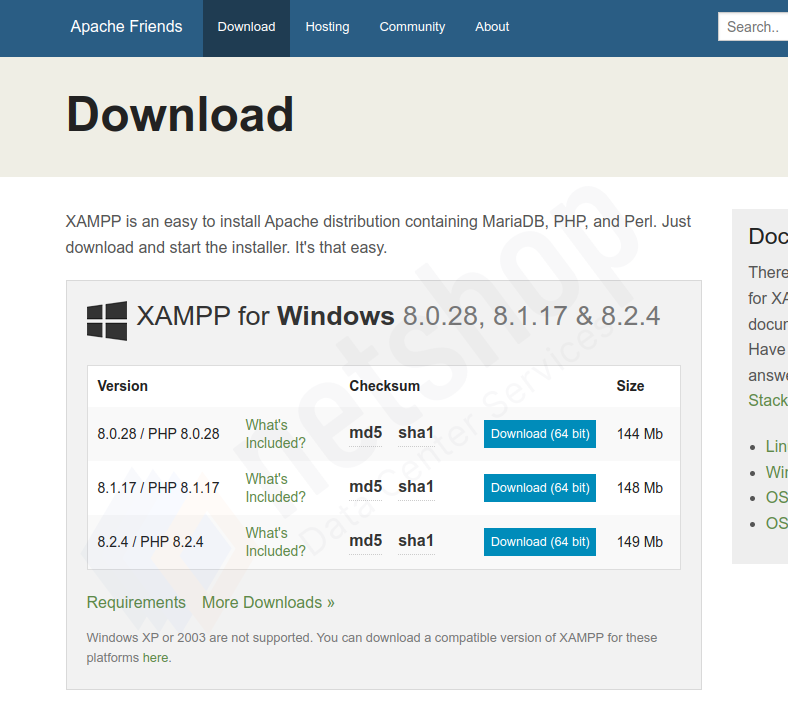
Step 1. In order to install XAMPP on Windows Server, you first need a XAMPP installer or setup file. You can download the XAMPP installer from the official Apache Friends website. Choose your desired version and click Download (64 bit).
Step 2. Once the XAMPP installer has been downloaded to your system, right-click on it and then click Run as administrator to begin the installation wizard.
Step 3. Click Next to proceed with the installation process.
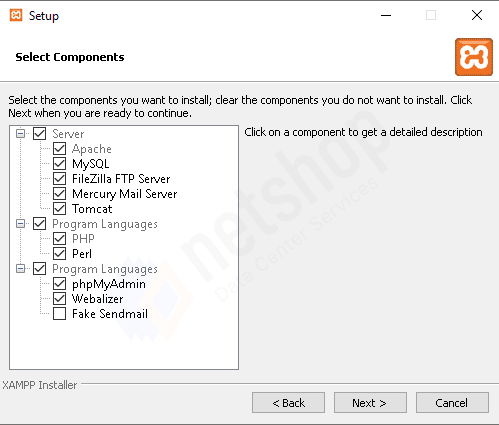
Step 4. On the Select Components page, you can check the components you wish to install and uncheck those that you don’t. The already selected greyed out components are necessary for the XAMPP installation and therefore cannot be unchecked. Once complete, click Next.
Step 5. On the Installation Folder page, select the folder where you want to install XAMPP and click Next. It is recommended that you do not change the directory and continue the installation process with the default location.
Step 6. On the Language page, select the language that you want to use in the XAMPP control panel. Here, English is set as the default. Then click Next.
Step 7 (final) The setup is now ready to install XAMPP on your Windows Server. Click Next.
The installation will begin on your system.
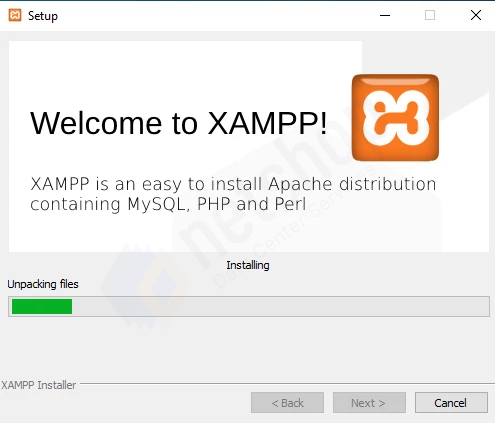
Once it’s complete, it will ask ‘Do you want to start the Control Panel now?’, if you tick this box, the XAMPP server control panel will be automatically launched once it has been installed. Otherwise you can launch the XAMPP server from the Windows start menu as shown in the screenshot below.
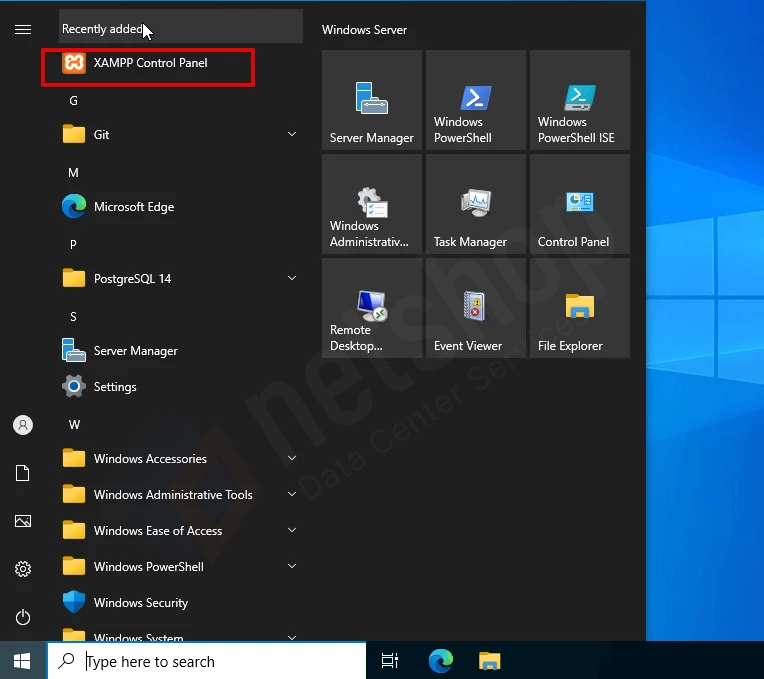
NOTE: Once XAMPP control panel opens, you will see that services are not running by default. Click Start on those you wish to start running.
Congratulations! You have successfully installed XAMPP on your Windows Server!