









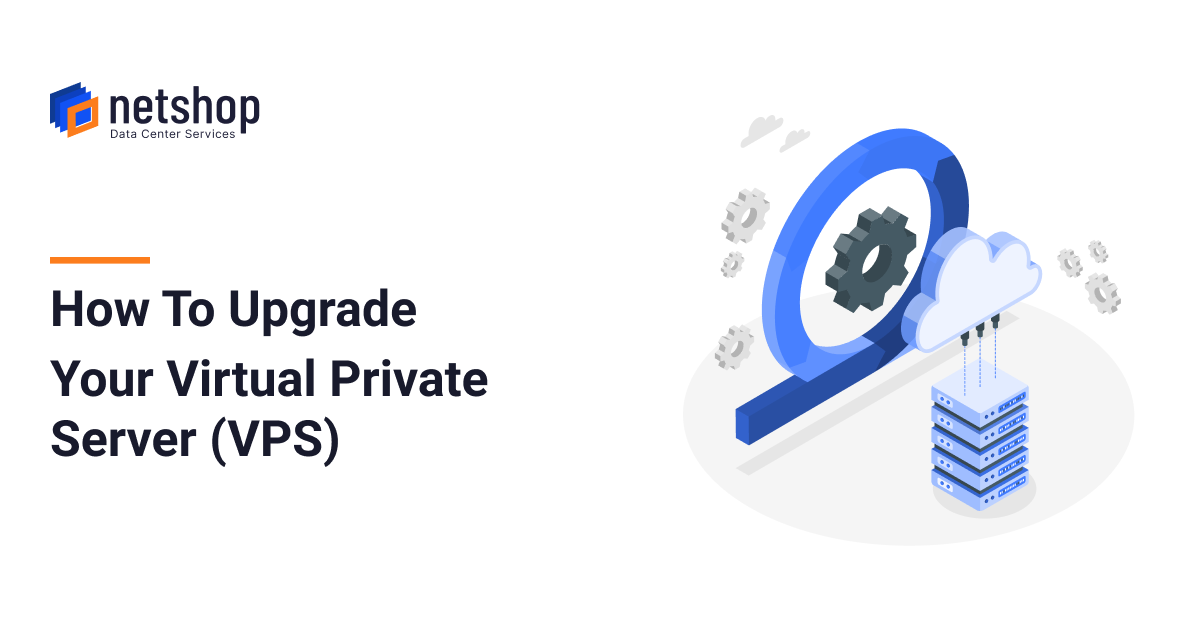

It’s oftentimes difficult to foresee the needs of your website when you’re just getting started. The hosting plan you choose initially may not be sufficient as your website grows and traffic increases. In such cases, it’s important that you’re able to seamlessly upgrade your resources so that your website, and business, continues to run smoothly.
In this article we’ll provide a step-by-step tutorial on how to easily upgrade your VPS via the myNetShop portal.
What is a VPS
A Virtual Private Server (VPS) is a form of hosting that somewhat simulates the environment of a dedicated server, whilst being extremely cost-effective. A VPS uses hypervisor technology to effectively split one physical server into multiple, independent virtual servers. Its multi-tenant cloud architecture allows each virtual server to have its own dedicated resources, like RAM and CPU.
VPS hosting has grown in popularity as it provides a middle point between shared and dedicated hosting. With a VPS, you can expect high-performance and reliability at an affordable price.
Upgrade your VPS with myNetShop
Upgrading your VPS within the myNetShop portal is a really simple process, as is completing a range of other tasks too. For the purpose of this guide, we’ll be upgrading a Splash VPS plan to a Lite VPS plan, although the same steps apply for whichever plan you wish to upgrade to.
1. Login to myNetShop
The first thing you need to do is login to your myNetShop portal. If you’re not sure about your password, you can reset it here or get in touch with our team for assistance.
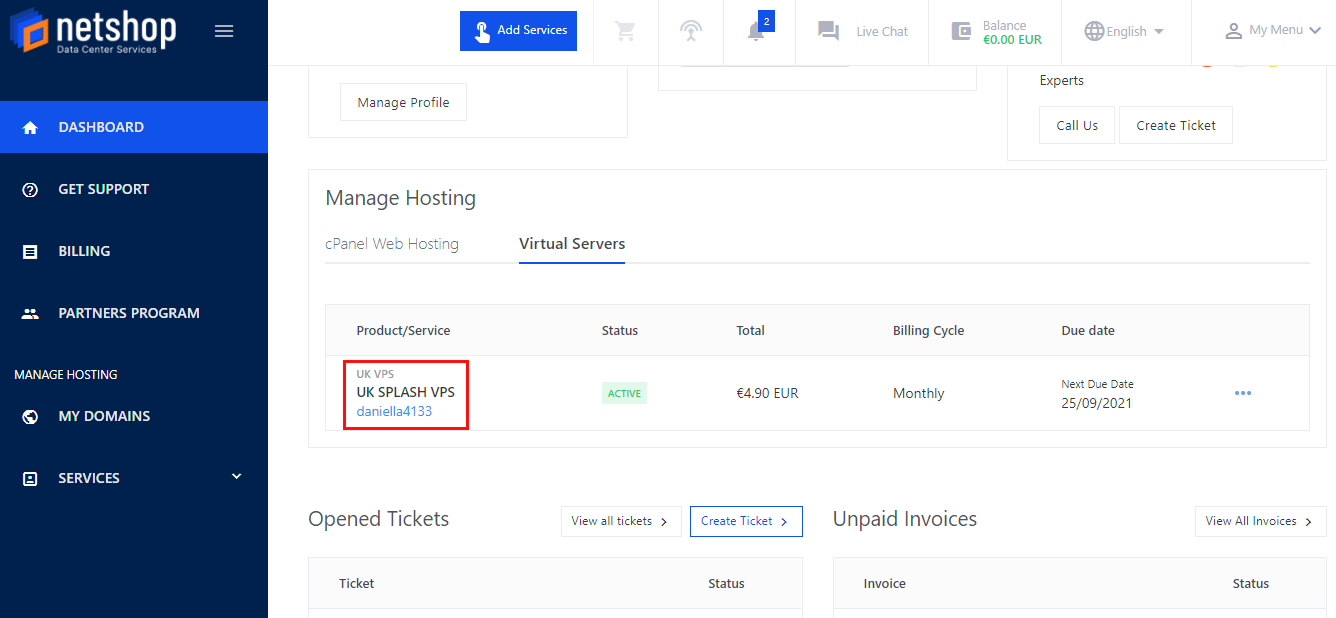
Once you’ve logged in, you can view your existing plans under Manage Hosting, separated by service. Click on Virtual Servers and then select the plan you wish to upgrade – in this case UK SPLASH VPS.
2. Select Upgrade from Server Actions
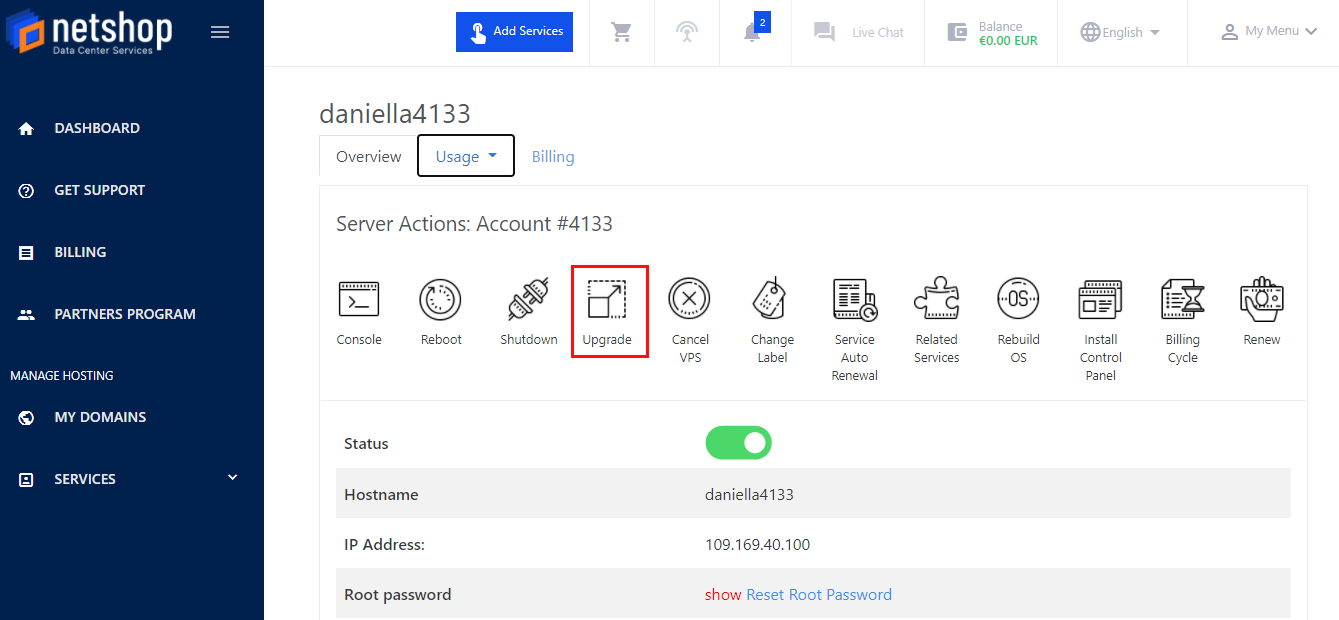
In this next window, you’ll see a range of management tools for your VPS. Click on Upgrade.
3. Choose Upgrade Package
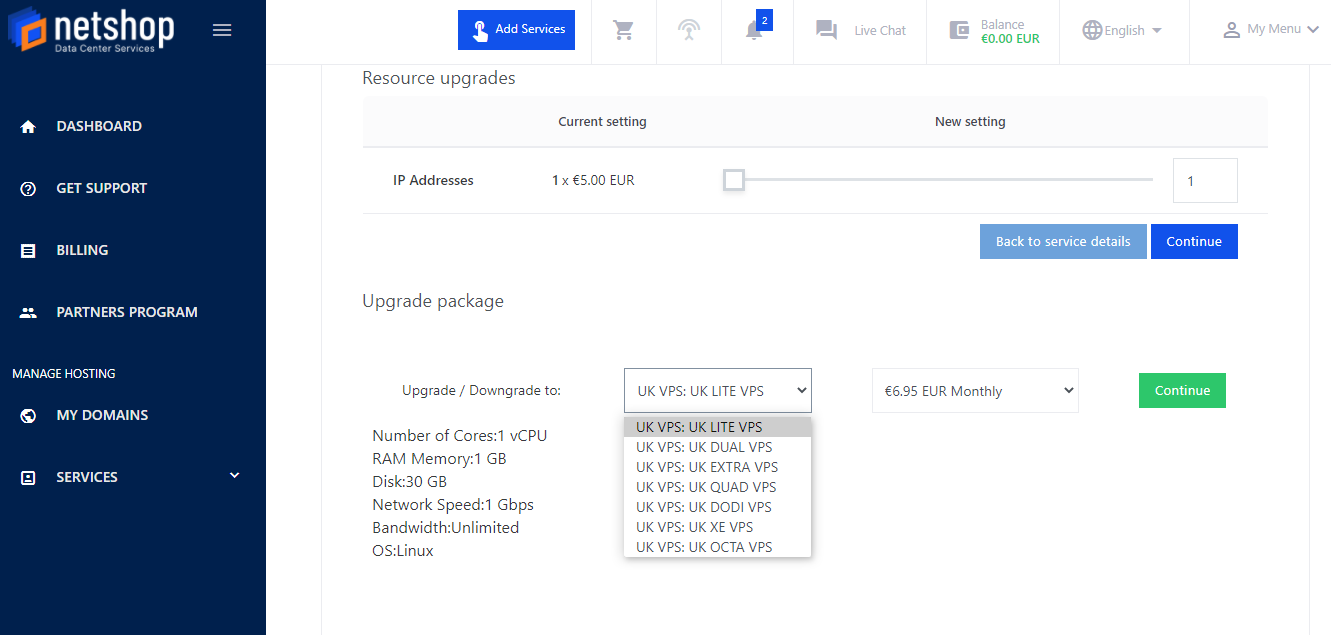
Here, under Upgrade Package, you can choose the plan you wish to upgrade to from the dropdown menu. You can also adjust your billing cycle. Then click Continue.
4. View Upgrade Summary
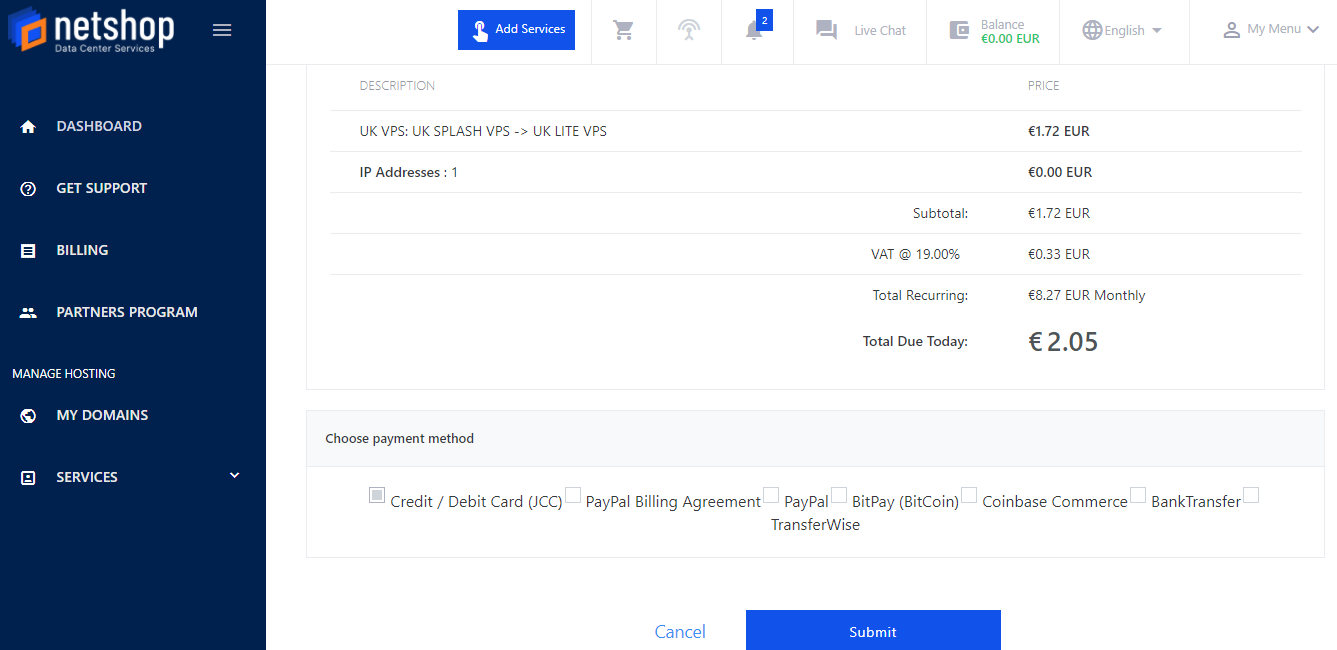
You can then view and double check your Service Upgrade Summary, and select your preferred payment method. Once you’ve done this click Submit.
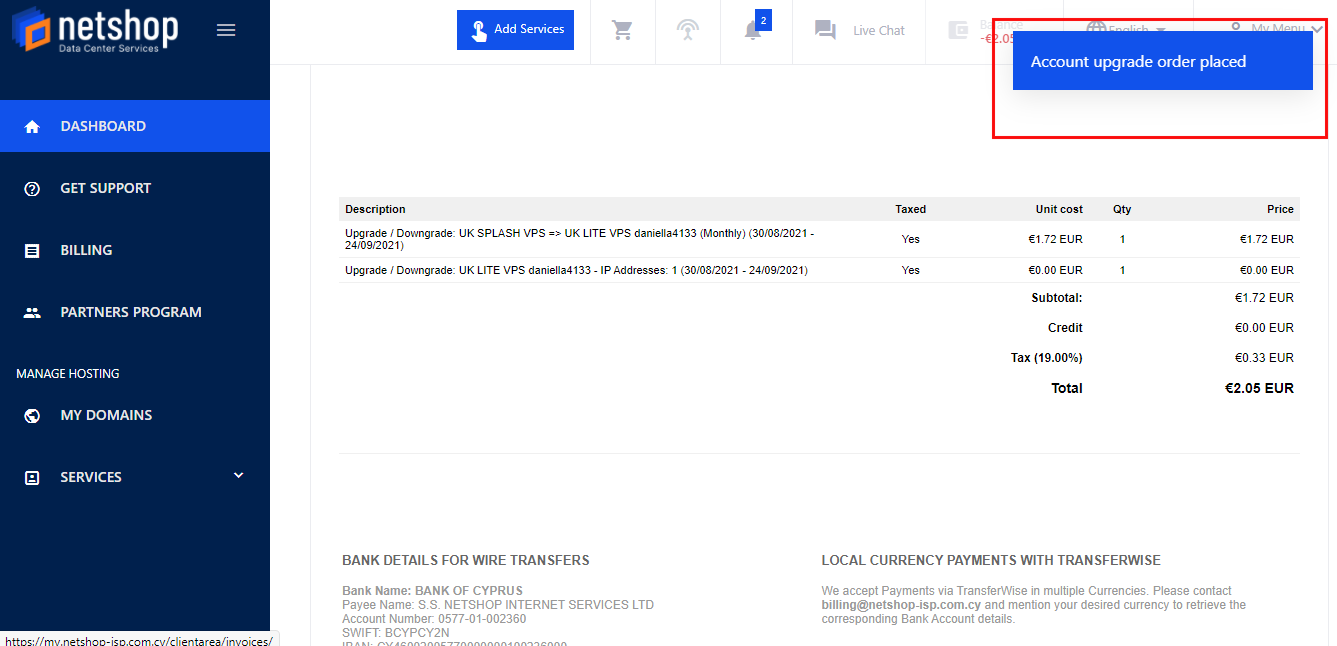
5. Invoice
You’ll then be redirected to your invoice and notified that your order has been placed. Select Pay Now or use a Coupon code to pay your invoice.
Voilà – you have successfully upgraded your VPS!
VPS Hosting with NetShop ISP
Deploy your VPS instantly with NetShop ISP and be rest assured you can seamlessly scale your resources at any time through your own self-service portal. Want to try it out first? We are offering a FREE VPS trial – no credit card required.