


If you’re a forex trader looking for an efficient and automated trading solution, Expert Advisors (EA’s) are your answer. EA’s are specialized software programs that automate your trade execution and analysis on the MetaTrader 5 (MT5) platform.
However, installing these EAs on your Windows Virtual Private Server (VPS) can be challenging for someone who is not well-versed in such technical processes.
To help you out with that, we’ve created this step-by-step guide to help you install and configure your Expert Advisor on MT5 successfully.
Step 1: Rent a Windows VPS
The first step towards installing an Expert Advisor on MT5 is renting a Windows VPS. Make sure that the VPS has a sufficient amount of RAM and processing power. Also, ensure that the VPS is running on Windows OS, as MT5 is compatible only with Windows-based systems.

Step 2: Install MetaTrader 5 on your VPS
Next, you need to download and install the MetaTrader 5 trading platform on your VPS. You can download the MT5 setup from the official website and follow the instructions to install it on your VPS.
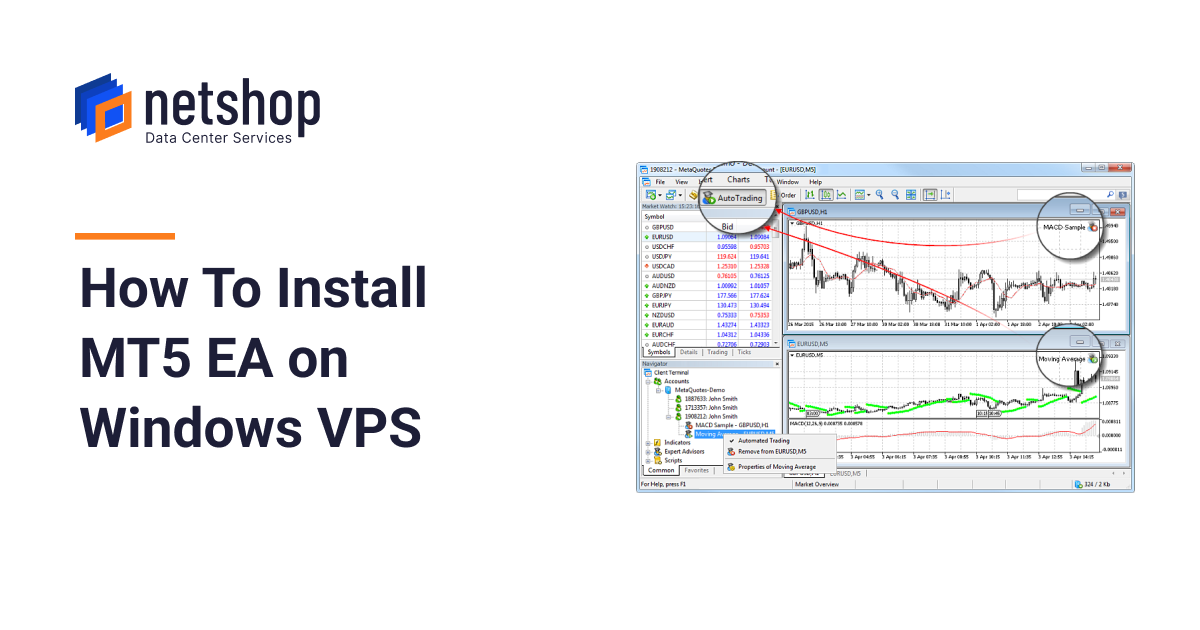
Step 3: Launch your MT5 platform
Once you’ve installed MT5, launch it and sign in using your login credentials. After logging in, you will see a “Navigator” window on the left side of the screen.
Step 4: Locate the “Expert Advisors” folder
To install an Expert Advisor on MT5, you need to locate the “Expert Advisors” folder. Go to the “File” menu and select “Open Data Folder”. Then, navigate to the “MQL5” folder and click on “Experts”. This is where you need to place your Expert Advisor file.
Step 5: Download your Expert Advisor file
Before we move on with the installation process, you need to have an Expert Advisor file. You can either create one yourself or download a pre-made EA from a reputable provider.
Step 6: Copy and paste the EA file into the “Expert Advisors” folder
After downloading your Expert Advisor file, copy it and navigate back to the Expert Advisors folder in your MT5 platform. Right-click on the folder and select “Paste” to move the file into the folder.
Step 7: Close and reopen your MT5 platform
To ensure that MT5 recognizes your newly installed Expert Advisor, you need to close and reopen the platform.
Step 8: Navigate to the “Expert Advisors” section
Once you’ve relaunched your MT5 platform, go to the “Navigator” window and select “Expert Advisors”. This will display all of the Expert Advisors that are currently available in your platform.
Step 9: Drag and drop your Expert Advisor file onto a chart
To activate your Expert Advisor, you need to drag and drop the file onto a chart. Select the Expert Advisor from the Navigator window, drag it onto a chart, and then select the “Allow live trading” option.
Step 10: Configure your Expert Advisor settings
Once your Expert Advisor is activated, you need to configure its settings. Go to the “Inputs” tab in the Expert Advisor properties window. Here, you can adjust parameters such as lot size, stop loss, take profit, and other settings depending on your trading strategy.

In conclusion, installing an Expert Advisor on MT5 is not as hard as you might have thought. By following these steps, you can install and configure your EA within minutes, ensuring that the automation process works flawlessly for you. It’s important to remember that once your EA is up and running, you should monitor it regularly to make sure that it is working according to your trading plan. Happy trading!