














MongoDB is a popular open-source NoSQL database management system. It is designed for flexibility, scalability, and performance in handling a variety of data types; structured and unstructured.
The same people who built and manage MongoDB have launched MongoDB Atlas in 2016. Atlas is a fully-managed cloud database that can run on the cloud service provider of a user’s choice (AWS , Azure, and Google Cloud). It offers a convenient way to deploy, manage, and scale MongoDB databases in the cloud without the operational overhead of managing database infrastructure.
Despite the many advantages MongoDB has to offer, maintaining such service in AWS or Azure is expensive. Therefore developers and DBA’s turn to alternative, cheaper yet reliable hosting providers for their MongoDB hosting needs.
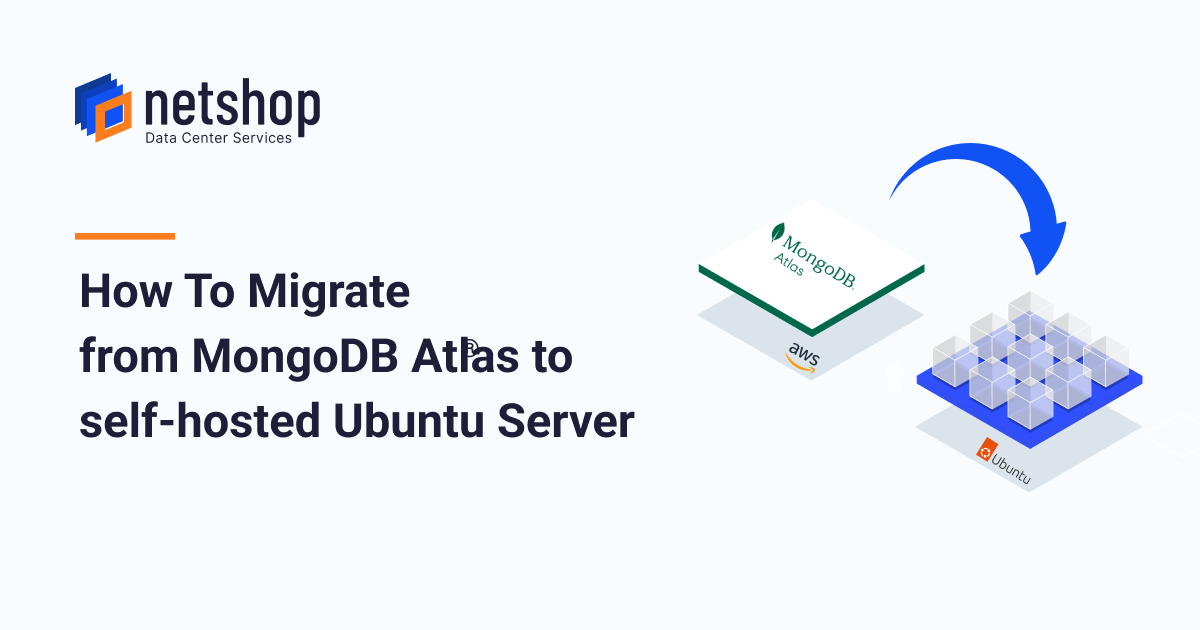
In this article we will demonstrate how to install latest MongoDB on Ubuntu 22.04 server, migrate databases from MongoDB Atlas and further secure your MongoDB environment.
Prerequisites
- SSH access with root privileges on destination ubuntu server
- Access to the source Mongodb Atlas Database
Step 1: Update system & Install Mongodb
Execute the following command to update you Ubuntu system with the latest packages:
root@localhost:~$ apt update -yThen, install mongodb with the following command:
root@localhost:~$ apt install mongodb -yStep 2: Create MongoDB user on Destination Server
This step is important as we will create a user which will be used for the migration process.
Use the following command to enter the mongo shell.
root@localhost:~$ mongoNow use the following commands within the mongo shell:
use admin
db.createUser(
  {
    user: "migrationUser",
    pwd: "migrationPassword",
    roles: [ { role: "readAnyDatabase", db: "admin" }, "readWriteAnyDatabase" ]
  }
)
Step 3: Backup mongodb database on source server
When handling database migration tasks, you must always have a fresh copy of the working database. Migrating an database from an old backup is not a good idea as you will be missing, probably, a lot of new data!
So, use the following command to take a full backup of the database in source mongodb server:
root@localhost:~$ mongodump --host <source_host> --username migrationUser --password migrationPassword --authenticationDatabase admin --db <source_db>Replace <source_host> with the IP or hostname of the source mongodb server, migrationUser and migrationPassword with the credentials used in Step 2, and <source_db> with the database name you are about to migrate.
Step 4: Transfer mongodb database to new server
We use the popular “scp” utility to transfer our database copy from the old server to the new one. Always remember that the first part of rsync syntax refers to the path on the source server and the last one to the path of the destination server.
Assuming we execute this command from our new server, the first part of the command should include the connection details to the source server. We will transfer the database to the root folder of our new Ubuntu server.
root@localhost:~$ scp root@source_server_ip:/path/to/mongodb_dump /root/In case you will be using the source server to transfer the database, then the scp command changes as follows:
root@localhost:~$ scp /path/to/mongodb_dump/ root@destination_server_ip:/root/Important: If your database is on MongoDB Atlas, then you can use the mongodump command from Step 3 directly on your new Ubuntu server. In this case, you can skip the entire Step 4.
Step 5: Restore MondoDB Database
Now that you have your database on your destination server, use the following command to restore it:
root@localhost:~$ mongorestore --db <db_name> /root/<source_db>
Make sure to replace <db_name> with the name of your database and <source_db> with the name as transferred from the source server. In our example we transferred it in /root/ folder so in your case this may also need to be changed.
Step 6: Create User with Privileges on New Database
Use mongo command to enter the mongo shell:
root@localhost:~$ mongodCreate the user with the appropriate privileges for the database you just migrated:
use <destination_db>
db.createUser(
  {
    user: "newUser",
    pwd: "newUserPassword",
    roles: [ { role: "readWrite", db: "<destination_db>" } ]
  }
)
Make sure to replace <destination_db> with the name of your newly migrated database.
Type exit to leave the mongo shell.
That’s it! We hope that this article helped you to migrate your MongoDB Atlas to your new self-hosted Ubuntu Server.